☀️ ☔ ❄️ 🍃 My 1st application 'Weather forecast' CHAP.2: Installing dependencies and Adding basic model, controller, repository
Table of Contents
If you haven't read it yet, in the previous chapter, I shared my inspiration for developing a weather forecasting web app and the cutting-edge tools I used to build it. Now, in chapter 2, I will talk about the technical aspects of backend development. Specifically, I will share my experience installing dependencies and adding a basic model, controller, and repository to lay the foundation for the app's functionality. So let's dive into the details of how I brought my vision to life.
3.Backend development
After initialize the app successfully, I started to write the server-side code that powers my web app. Here at the I'll choose a database to store my data, and write code to handle user authentication, server-side rendering, and any other functionality required by my app.
Stage 1: Installing dependencies
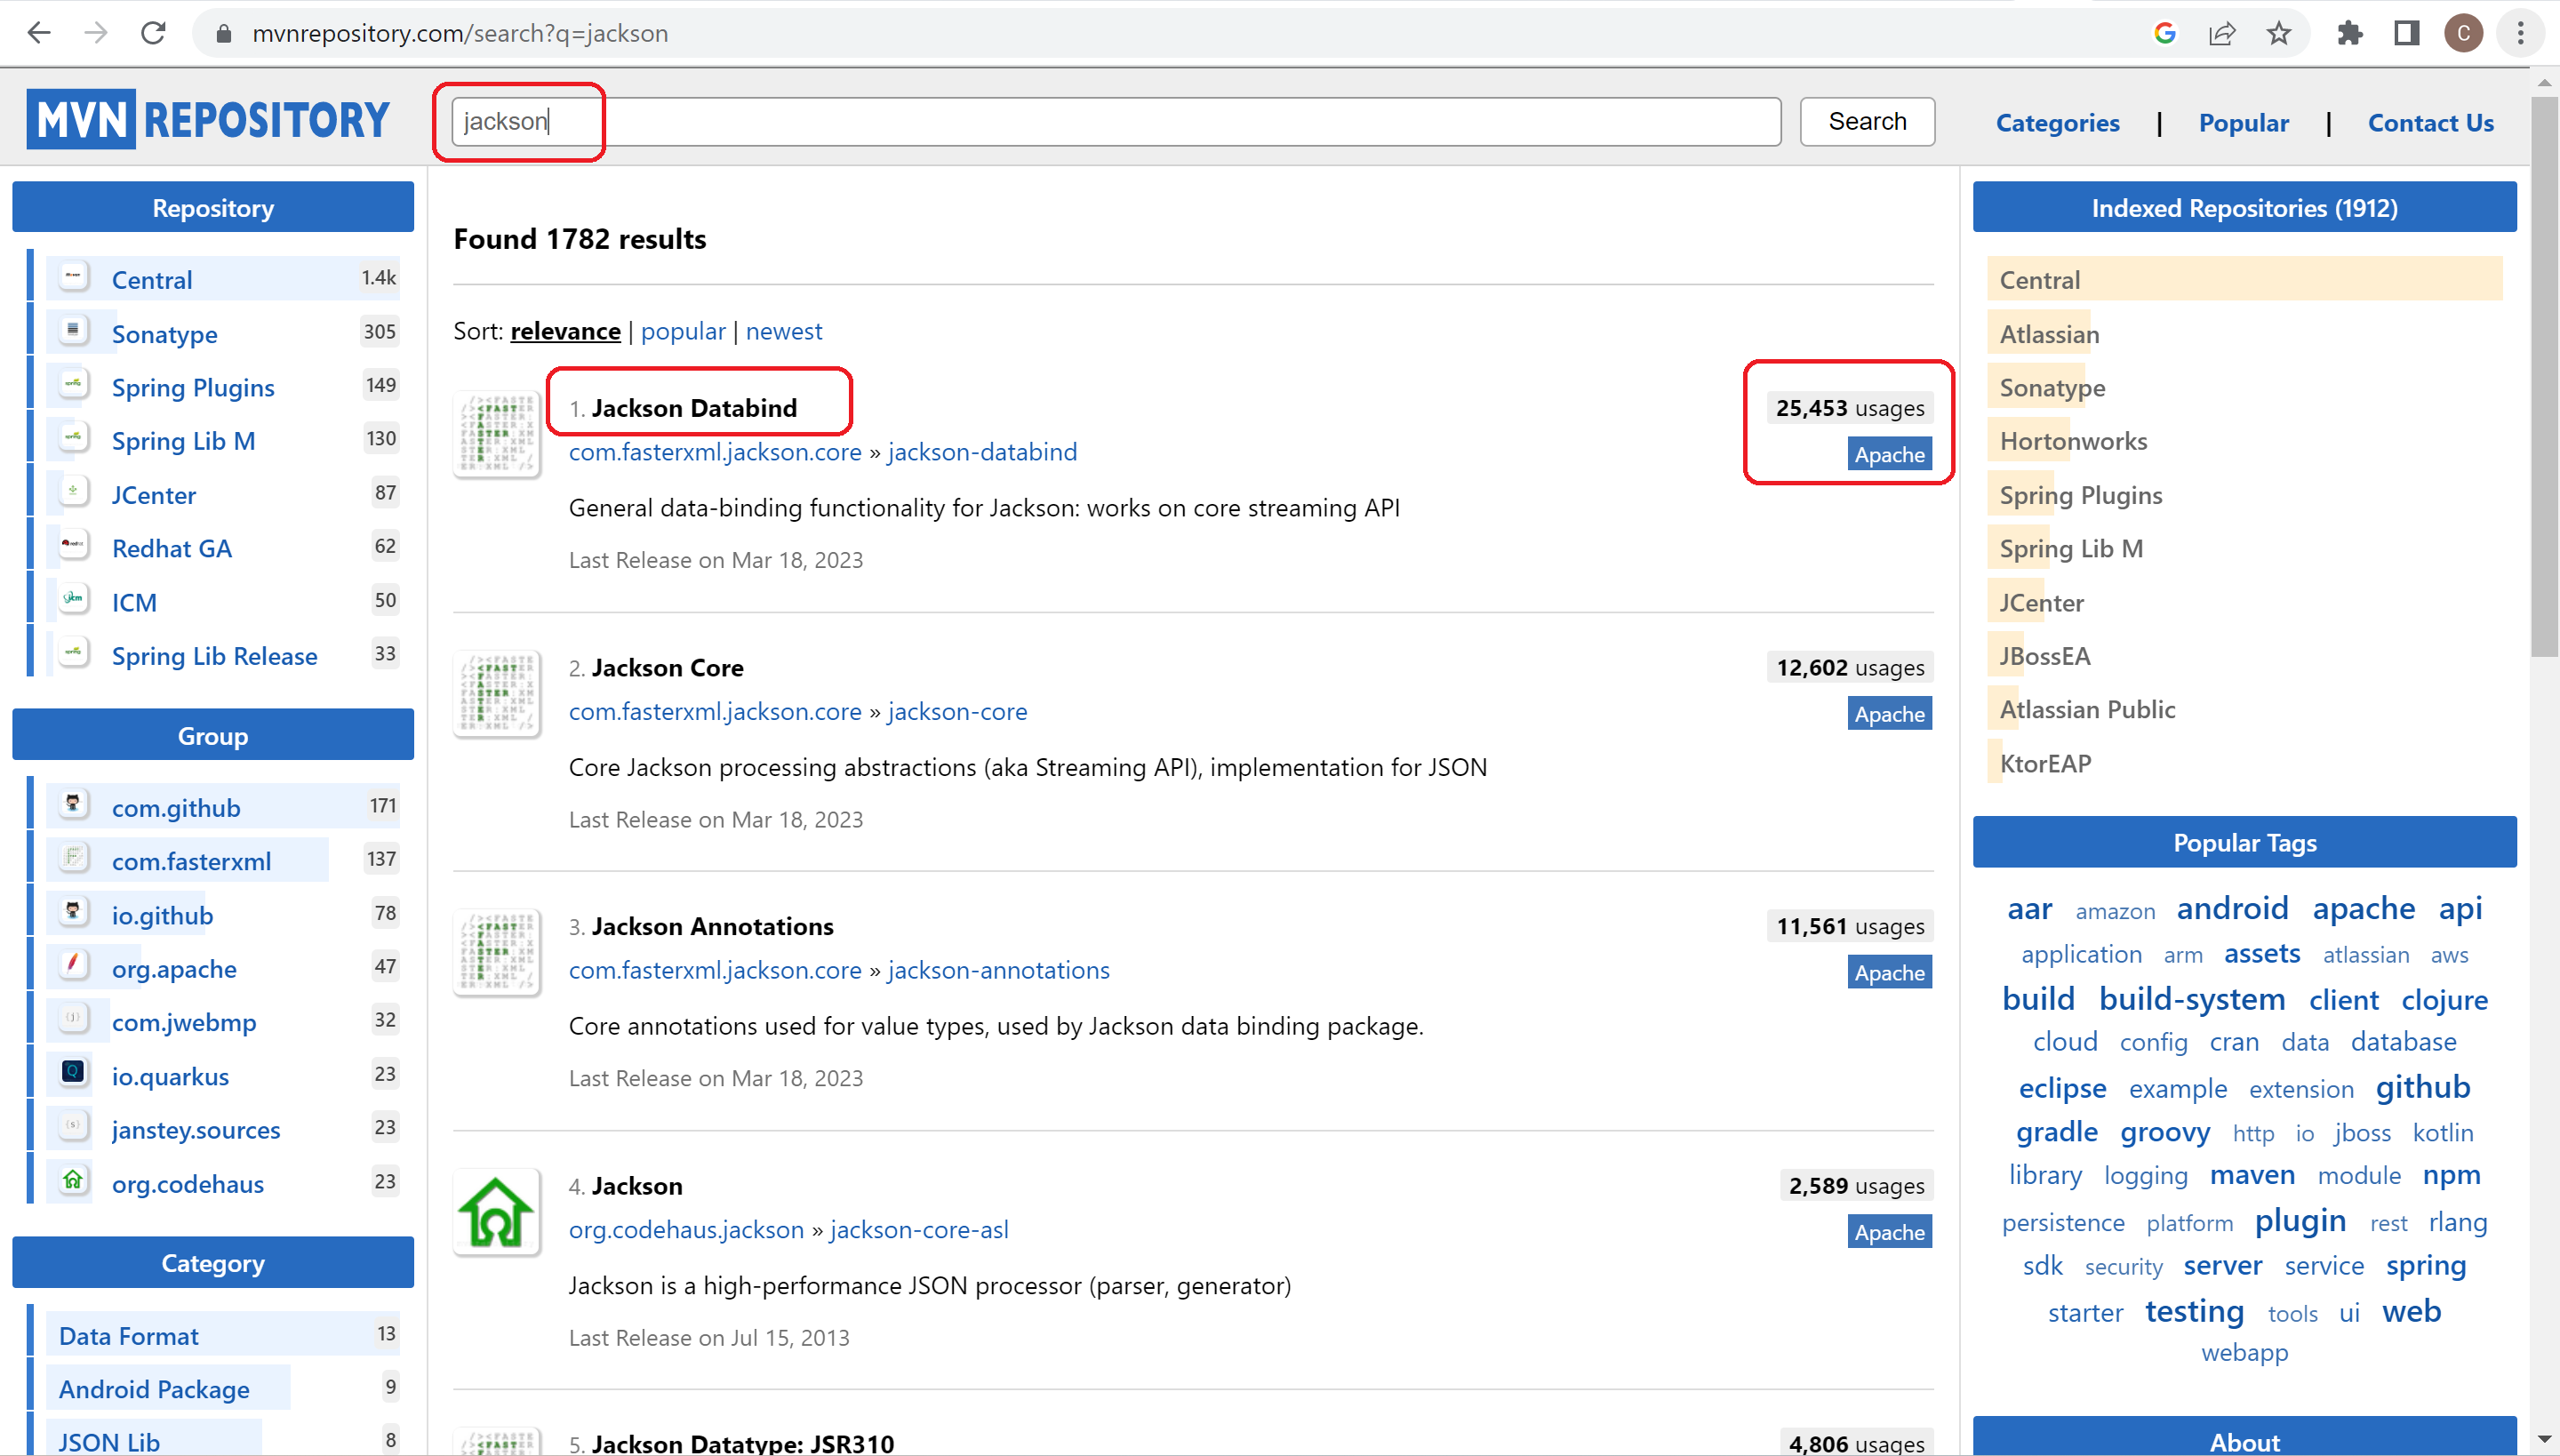
In order to use annotation: and , I installed the dependency from maven repository.

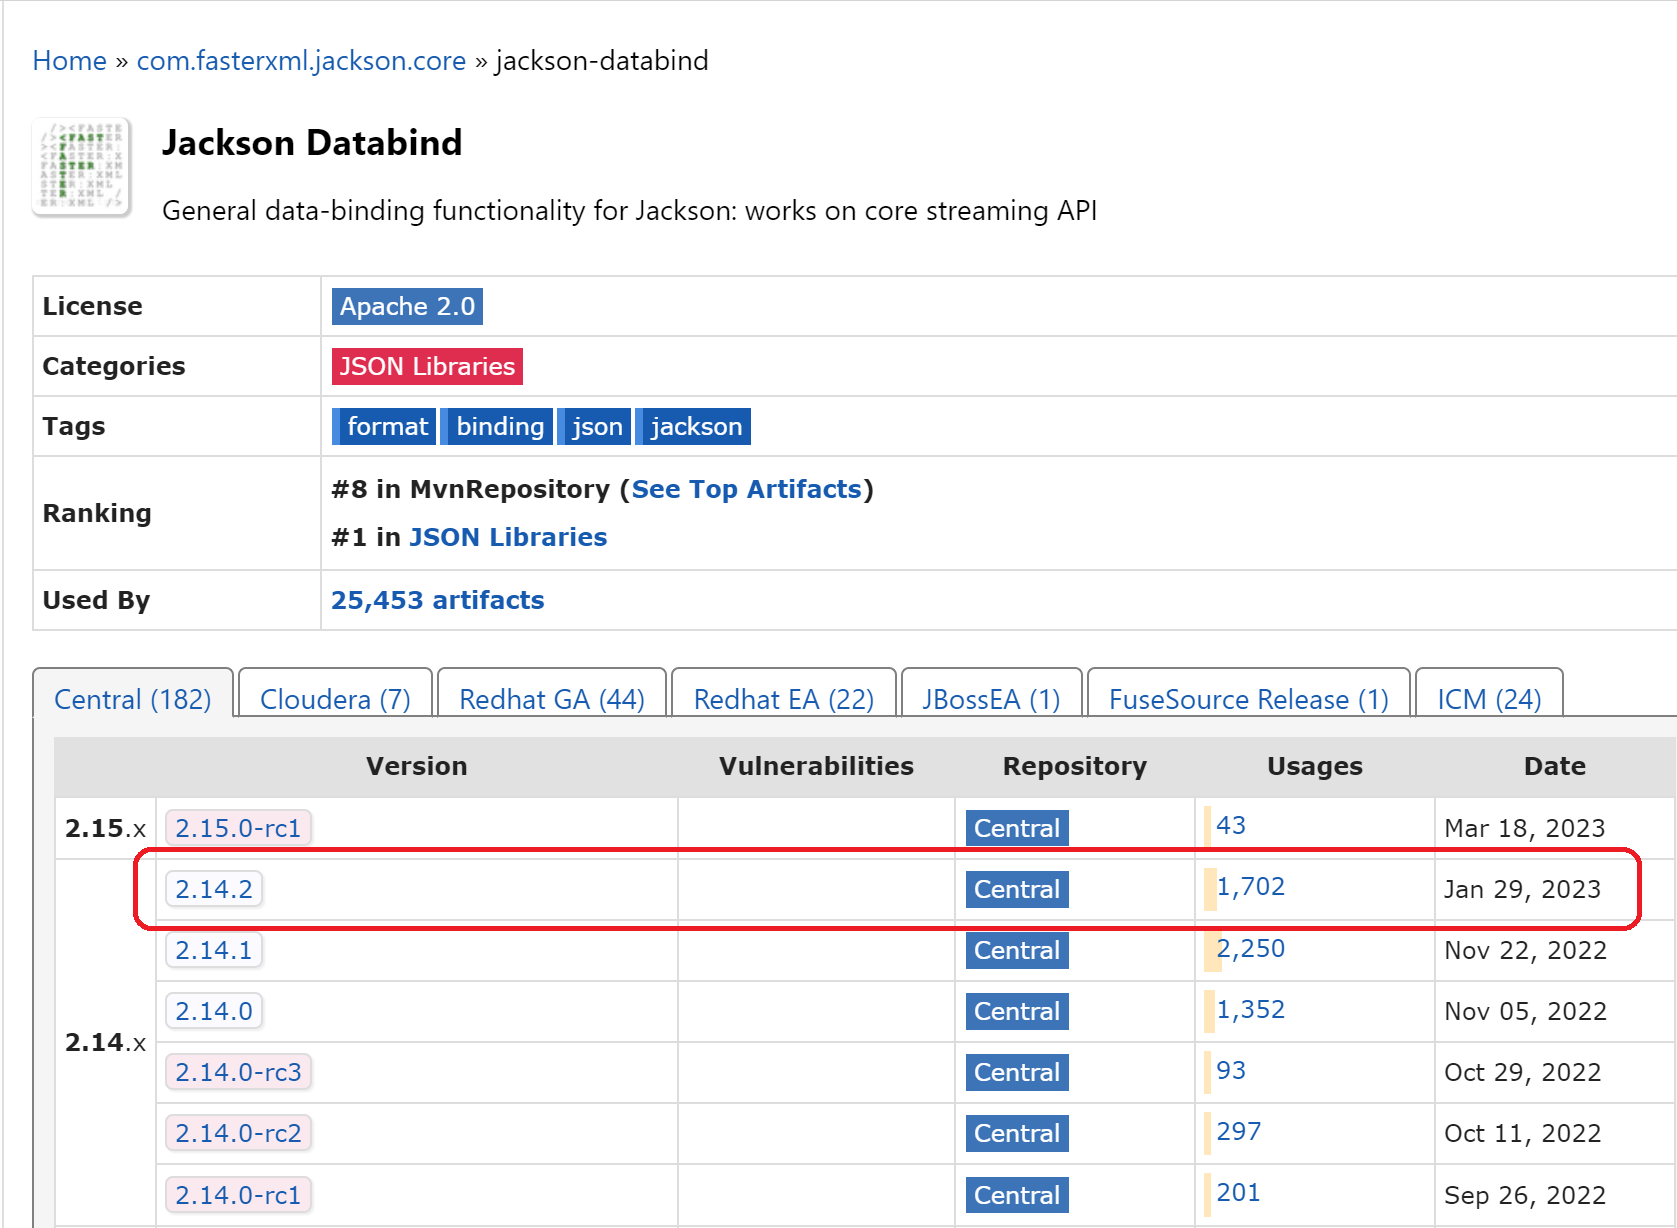
I chose the latest version

After downloaded with (why gradle short?), once again I went to check the dependency at .

In order to manage and easier to update the versions of any dependencies, I made a variable for each of the dependency and pass the parameter .
var jacksonVersion = "2.14.2"
var swaggerVersion = "3.0.0"
var lombokVersion = "1.18.26"
var postgreSQLVersion = "42.5.4"
So that when needed to update the version, I just need to update the variable. It helps me save more time to look for where the dependency locate😏 among lots of other dependencies😨😓 like below for example.
My github's link of dependencies
dependencies {

    implementation 'org.springframework.boot:spring-boot-starter-web'
    testImplementation 'org.springframework.boot:spring-boot-starter-test'

    // https://mvnrepository.com/artifact/com.fasterxml.jackson.core/jackson-databind
    //to serialize and deserialize json
    implementation "com.fasterxml.jackson.core:jackson-databind:${jacksonVersion}"

    // https://mvnrepository.com/artifact/io.springfox/springfox-boot-starter
    implementation "io.springfox:springfox-boot-starter:${swaggerVersion}"
    // https://mvnrepository.com/artifact/io.springfox/springfox-swagger-ui
    implementation "io.springfox:springfox-swagger-ui:${swaggerVersion}"

     //    implementation 'org.springframework.boot:spring-boot-starter-oauth2-resource-server'

    // https://mvnrepository.com/artifact/org.projectlombok/lombok
    compileOnly "org.projectlombokundefined${lombokVersion}"
    annotationProcessor "org.projectlombokundefined${lombokVersion}"

    //to connect to database
    // https://mvnrepository.com/artifact/org.springframework.boot/spring-boot-starter-data-jpa
    implementation 'org.springframework.boot:spring-boot-starter-data-jpa'
    // https://mvnrepository.com/artifact/org.springframework.boot/spring-boot-starter-data-rest
    implementation 'org.springframework.boot:spring-boot-starter-data-rest'
    // https://mvnrepository.com/artifact/org.postgresql/postgresql
    implementation "org.postgresqlundefined${postgreSQLVersion}"
}
Stage 2: Basic model, controller, repository
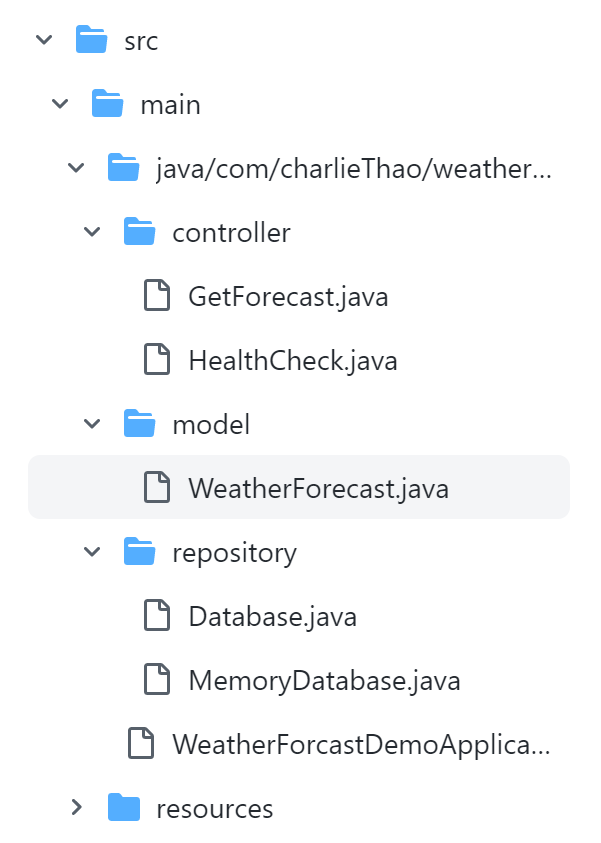
- Create :
- Create :
- Create : and . Why do I need to create the two of these classes? (Check at part)

MODEL
WeatherForecast
I made called with attributes: , , , , , . And following the rule of Java, I created with and . I'm using annotation and .
- : to convert an object to stream that we can send over the network or save it as file or store in database for later usage (from Java object into Json format).
- : to reconstruct an object stream from the serialized form to actual Java object(from Json format into Java object).
- : be used to map property names with Json keys during serialization and deserialization.
// https://github.com/acapela000/WeatherForecastAPI/blob/f7e5eeb8accad05c2a6df6d237fbf452031c467a/src/main/java/com/charlieThao/weather_forcast_demo/model/WeatherForecast.java

@JsonSerialize
public class WeatherForecast {

    @JsonProperty
    private double temperature;
    @JsonProperty
    private double humidity;
    @JsonProperty
    private boolean precipitation;
    @JsonProperty
    private String condition;
    @JsonProperty
    private String city;
    @JsonProperty
    private Timestamp date;

    public WeatherForecast() {
    }

    public WeatherForecast(double temperature, double humidity, boolean precipitation, String condition, String city) {
        this(temperature, humidity, precipitation, condition, city, new Timestamp(new Date().getTime()));
    }

    public WeatherForecast(double temperature, double humidity, boolean precipitation, String condition, String city, Timestamp date) {
        this.temperature = temperature;
        this.humidity = humidity;
        this.precipitation = precipitation;
        this.condition = condition;
        this.city = city;
        this.date = date;
    }

    // getter & setter
}
Here, in the second I use to get the current date and time.
public WeatherForecast(double temperature, double humidity, boolean precipitation, String condition, String city) {
        this(temperature, humidity, precipitation, condition, city, new Timestamp(new Date().getTime()));
    }
And in the third constructor I pass all the attributes and set up the value for each attributes:
public WeatherForecast(double temperature, double humidity, boolean precipitation, String condition, String city, Timestamp date) {
        this.temperature = temperature;
        this.humidity = humidity;
        this.precipitation = precipitation;
        this.condition = condition;
        this.city = city;
        this.date = date;
    }
CONTROLLER
I created class using annotation to specify this is and using to specify the by .
@RestController
@RequestMapping("/forecast")
public class GetForecast {
    // full code
    // https://github.com/acapela000/WeatherForecastAPI/blob/f7e5eeb8accad05c2a6df6d237fbf452031c467a/src/main/java/com/charlieThao/weather_forcast_demo/controller/GetForecast.java
}
Because class implement from interface so I created a new object of to connect with the database:
Database db = new MemoryDatabase();Continously, using annotation to specify the by with the method is and type of format is through . The at this time will be .
- : for mapping web requests onto methods in request-handling classes with flexible method signatures.
- : Narrows the primary mapping by media types that can be produced by the mapped handler.
- : The primary mapping expressed by this annotation.
More about Annotation Interface RequestMapping
@RequestMapping (
            value = "/today/{city}",
            method = RequestMethod.GET,
            produces = MediaType.APPLICATION_JSON_VALUE
    )
As you can see in the class, I'm using in order to get the weather forecast on that day. By passing the variable to the endpoint. If the program can not find any on that day, means that it's then the program will return through function . Else, it returns that through function .
- : representing the whole HTTP response: status code, headers, and body. As a result, we can use it to fully configure the HTTP response.
- : Create a builder with a NOT_FOUND status.
- : A shortcut for creating a ResponseEntity with the given body and the status set to OK.
public ResponseEntity<WeatherForecast> getToday(@PathVariable("city") String city) {
        WeatherForecast weatherForecast = db.getWF(city);
        if (weatherForecast == null) {
            return ResponseEntity.notFound().build();
        }
        return ResponseEntity.ok(weatherForecast);
    }
I'm using annotation to specify the by with the method is and type of format is through . The at this time will be .
@RequestMapping (
            value = "/week/{city}",
            method = RequestMethod.GET,
            produces = MediaType.APPLICATION_JSON_VALUE)
And then, I created a list of by using for a with function . With , I passed the varaiable to the . The method will return when there is no weather forecast in a day being found.
    public ResponseEntity<List<WeatherForecast>> getWeek(@PathVariable("city") String city) {
        return null;
    }
REPOSITORY
Why do I need to create the two of these classes? Because at first I focused on and . The will get the information from the database and in order to check that process is working or not, I need to created the mock-data in .
Database
In order to let the other class implement the method, I created the interface with 4 abstract methods: , , , (WF means Weather Forecast) and pass needed variable for each of it.
// https://github.com/acapela000/WeatherForecastAPI/blob/f7e5eeb8accad05c2a6df6d237fbf452031c467a/src/main/java/com/charlieThao/weather_forcast_demo/repository/Database.java

public interface Database {

    public boolean createWF(String city, WeatherForecast weatherForecast);

    public WeatherForecast updateWF(String city, WeatherForecast wf);

    public WeatherForecast getWF(String city);

    public boolean deleteWF(String city);
}
MemoryDatabase
I created some mock-data by using with the is a and the is a .
public HashMap<String, WeatherForecast> weatherForecastList = new HashMap<String, WeatherForecast>() {
        {
            put("New York", new WeatherForecast(26.0, 25.0, false, "cloudy", "New York"));
            put("Melbourn", new WeatherForecast(29.0, 20.0, true, "snowy", "Melbourn"));
        }
    };
The implement the so that it inherit all the method. I use annotation to rewrite those methods as well as implement in details. The method will return a value or . If in the list doesn't contain the that the we wanna create, it will put that in the list and inform the user or else . For the to display the list by using function with the parameter .
public class MemoryDatabase implements Database {

    @Override
    public boolean createWF(String city, WeatherForecast wf) {
       if (!weatherForecastList.containsKey(city)) {
           weatherForecastList.put(city, wf);
           return true;
       }
        return false;
    }


    @Override
    public WeatherForecast getWF(String city) {
        return weatherForecastList.get(city);
    }

    // update and delete method
    // https://github.com/acapela000/WeatherForecastAPI/blob/f7e5eeb8accad05c2a6df6d237fbf452031c467a/src/main/java/com/charlieThao/weather_forcast_demo/repository/MemoryDatabase.java
}
Many thank you for reading, and in my next chapter, I will share about backend development with configurating and adding 😊.