☀️ ☔ ❄️ 🍃 My 1st application 'Weather forecast' CHAP.3: Configuration of Swagger and Adding MIT License
Table of Contents
In chapter 1, I talked about my inspiration for developing a weather forecasting web app and the cutting-edge tools I used to build it. Chapter 2 discussed the technical aspects of backend development, including installing dependencies and adding a basic model, controller, and repository. Now, in chapter 3, I will share how I configured Swagger and added an MIT license to the app. These steps helped to ensure the app's functionality and legality, making it ready for deployment. So let's take a closer look at how I achieved these important milestones.
3.Backend development
Stage 3: Configurate Swagger
Swagger helps users build, document, test and consume RESTful web services. It provides a user interface to access our RESTful web services via the web browser.
In order to use , I started to set up the dependency first.
var swaggerVersion = "3.0.0"

repositories {
    // https://mvnrepository.com/artifact/io.springfox/springfox-boot-starter
    implementation "io.springfox:springfox-boot-starter:${swaggerVersion}"
    // https://mvnrepository.com/artifact/io.springfox/springfox-swagger-ui
    implementation "io.springfox:springfox-swagger-ui:${swaggerVersion}"
}
Configurate Swagger with the code
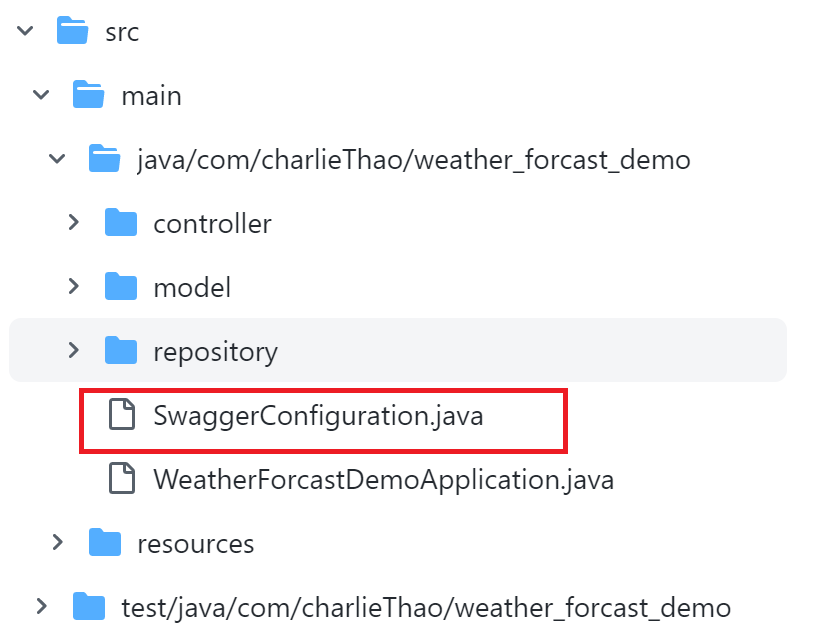
I created class at to set up Swagger.
Custom Information
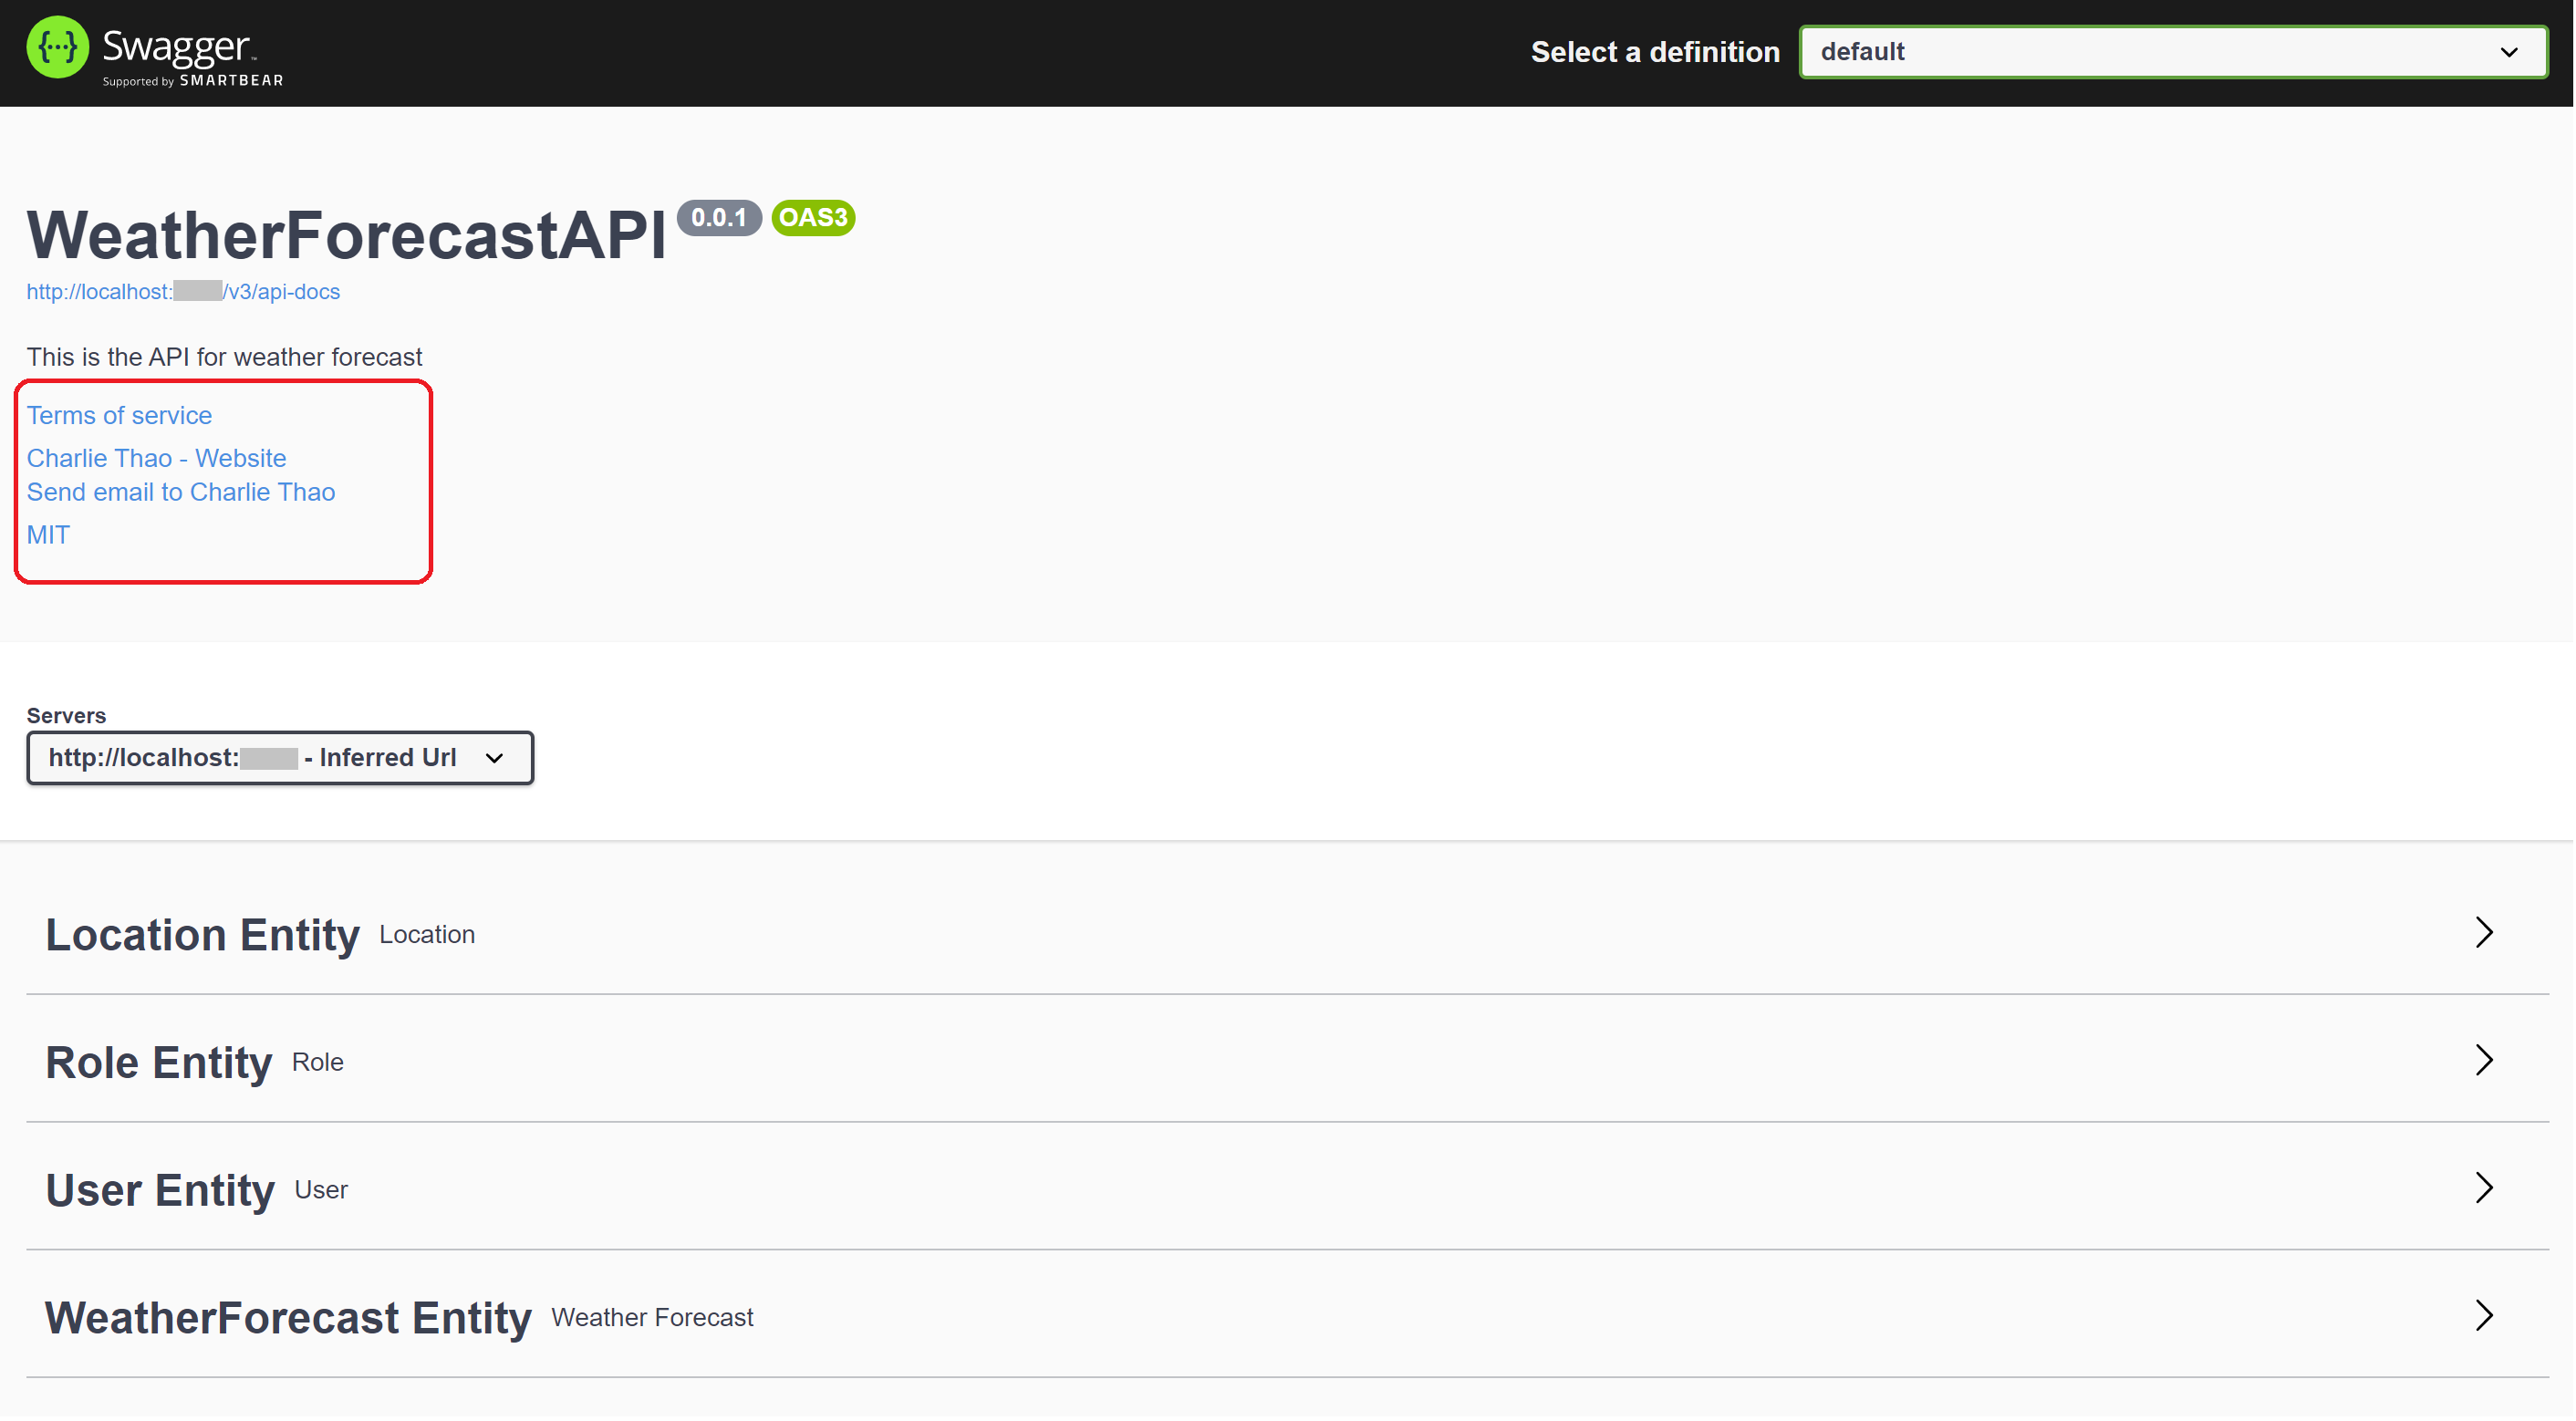
Swagger also provides some default values in its response, which I can customize, such as “Api Documentation”, “Created by Contact Email” and etc.
To change these values, I use the with method — the ApiInfo class that contains custom information about the API:
- Name of the API:
- Description:
- Version of the weather forecast application:
- Author's name:
- Email:
- Link of project on Github
- MIT License: with link
// https://github.com/acapela000/WeatherForecastAPI/commit/82e648a11596856fa43a65bb41b9e66005ee5a6d

@Configuration
@EnableWebMvc
public class SwaggerConfiguration {
    private ApiInfo getInfo() {
        return new ApiInfo(
                "WeatherForecastAPI",
                "This is the API for weather forecast",
                "0.0.1",
                " ",
                new Contact("Charlie Thao", "https://github.com/acapela000/WeatherForecastAPI", "google@gmail.com"),
                "MIT",
                "https://github.com/acapela000/WeatherForecastAPI/blob/main/LICENSE.md",
                "https://github.com/acapela000/WeatherForecastAPI/blob/master/LICENSE.md",
                Collections.emptyList()
        );
    }
}
Advanced Configuration
The `Docket`` bean of the application can be configured to give more control over the API documentation generation process.
Using API for Swagger’s Response:
It is not always desirable to expose the documentation for the entire API. So that I can restrict Swagger’s response by passing parameters to the and methods of the class.
As seen above, allows using the or none predicates but can also be used to filter the API according to the base package, class annotation, and method annotations.
provides additional filtering with predicates, which scan the request paths of our application. We can use , , , or .
@Bean
    public Docket swaggerAPI() {
        return new Docket(DocumentationType.OAS_30)
                .apiInfo(getInfo())
                .select()
                .apis(RequestHandlerSelectors.any())
                .paths(PathSelectors.any())
                .build();
    }
While setting up Swagger I bump on some error with the , I tried some below and searched on google to find the way to fix it.
References: Most common errors when setting up Swagger
Stage 4: Add MIT License
Why need MIT License
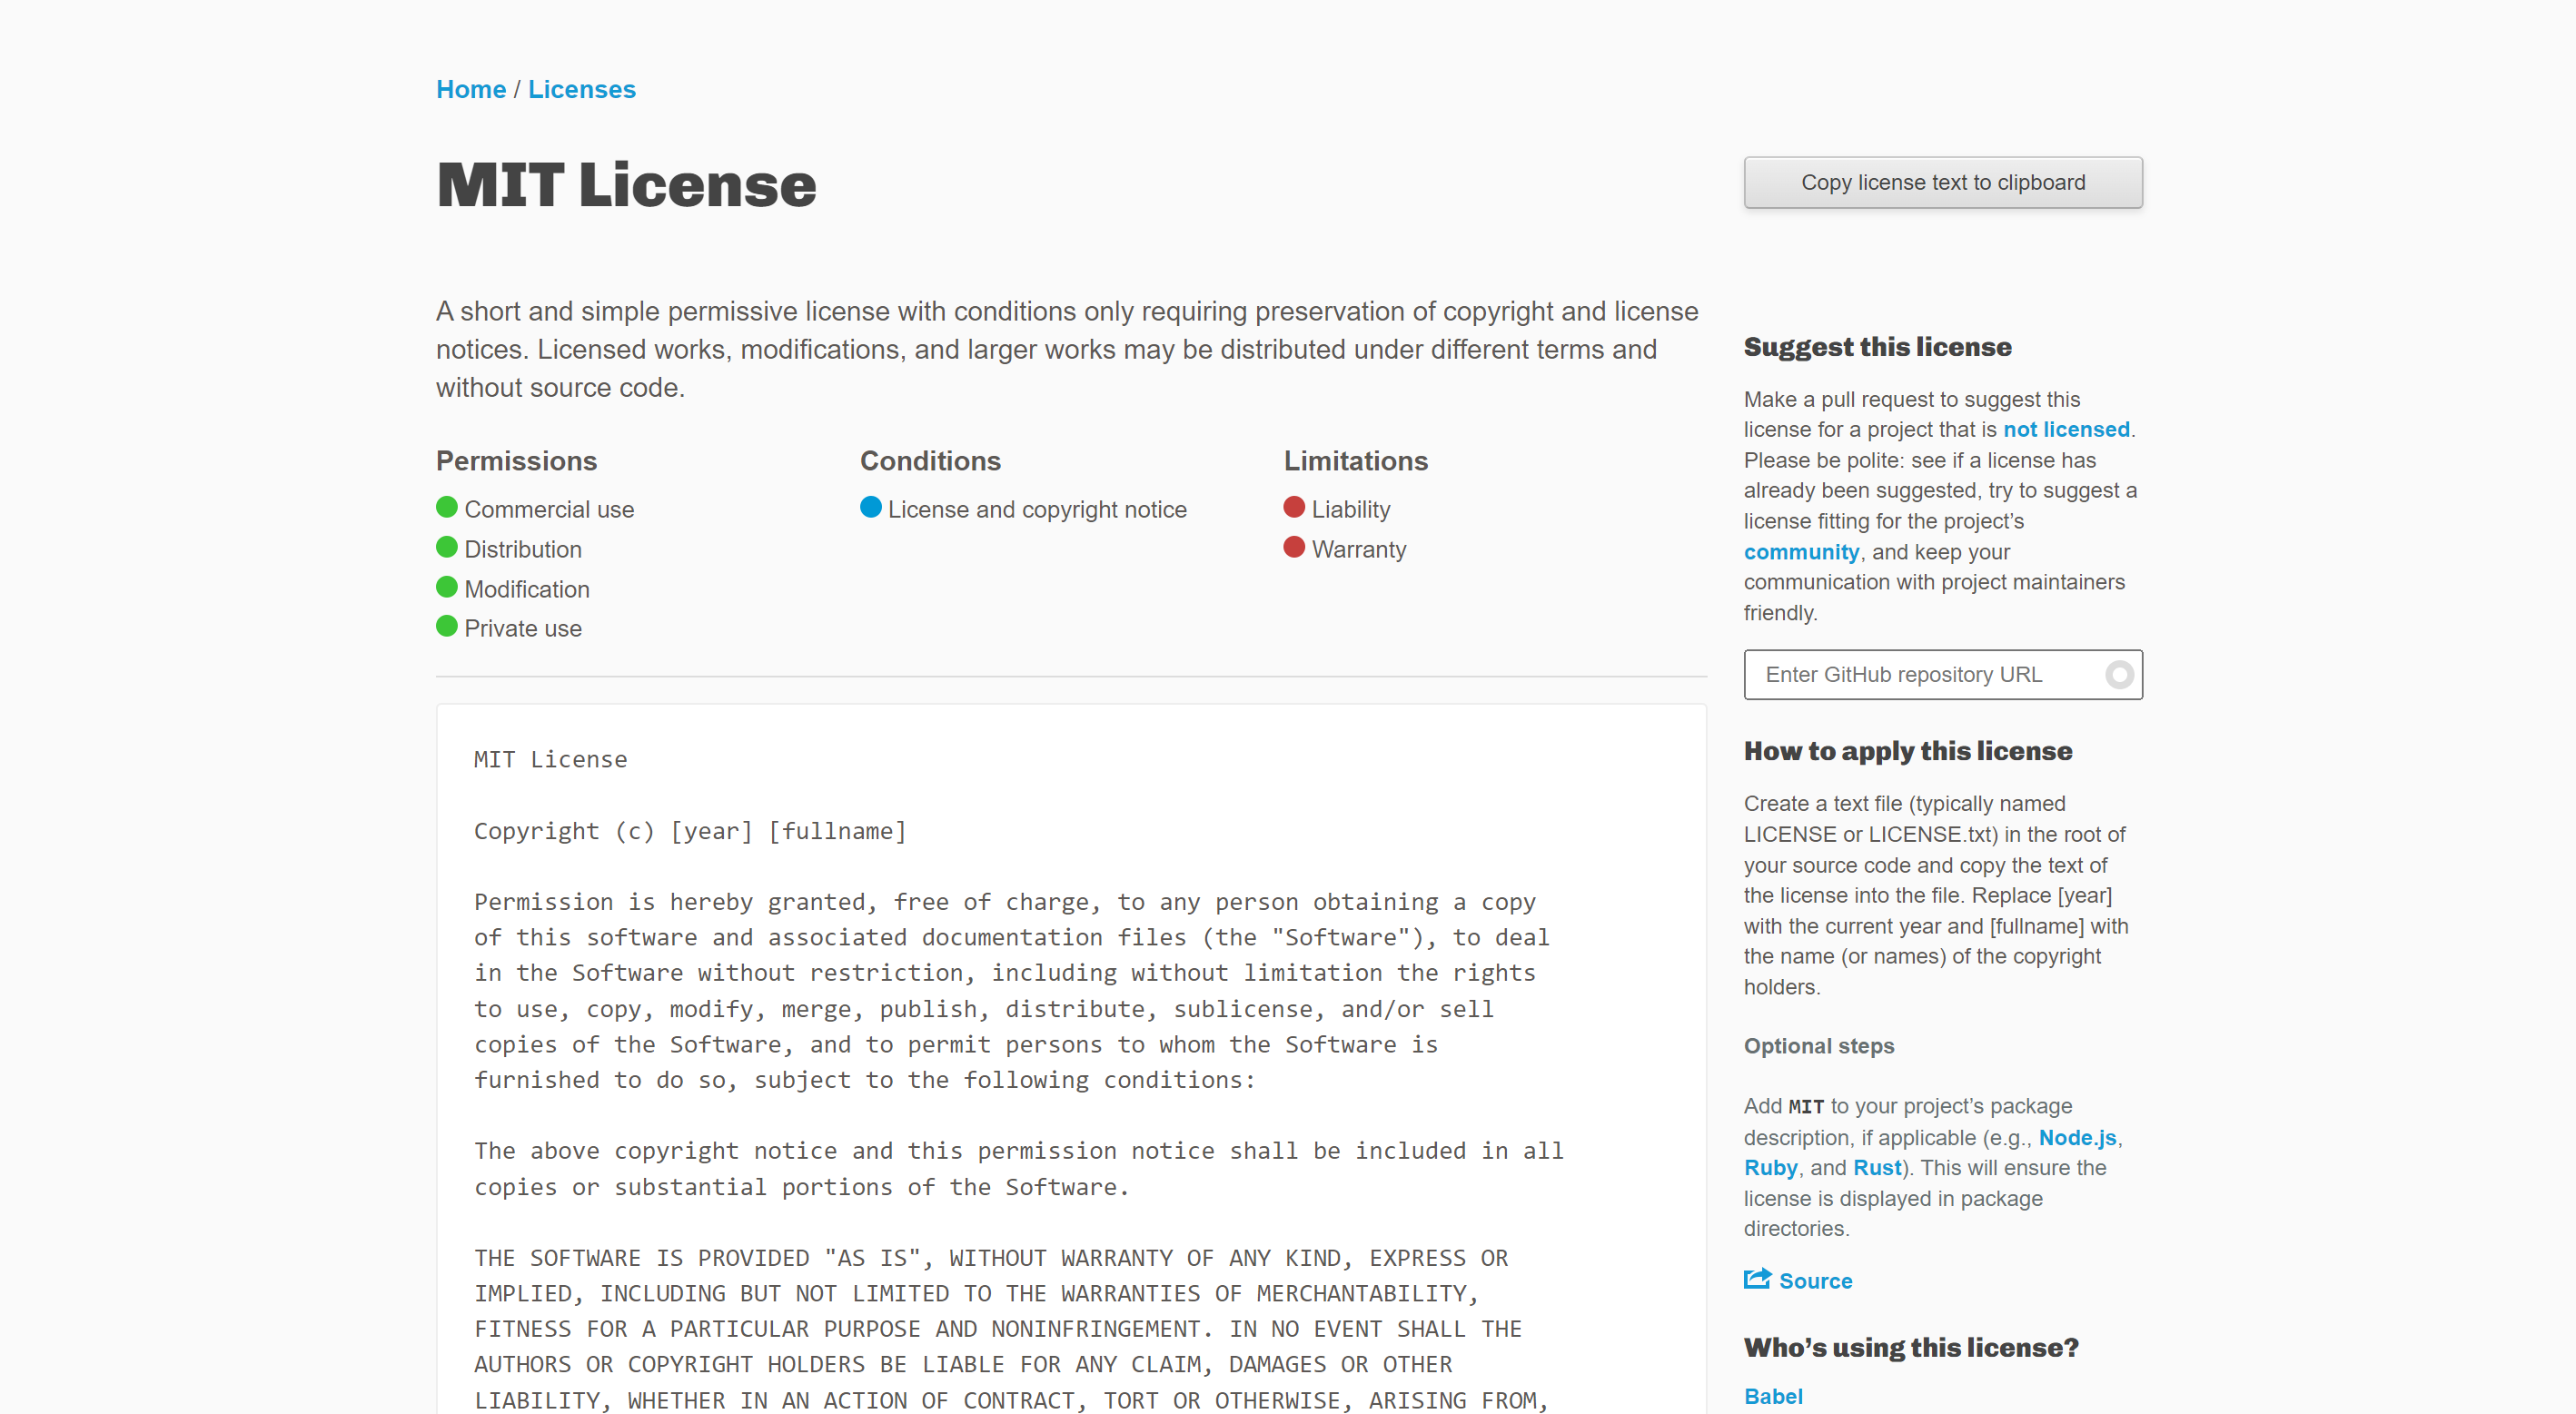
`The MIT license is a permissive free software license that allows users to use, copy, modify, and distribute the software as long as they include the original copyright and license notice. It also disclaims any liability and warranty for the software, which means that the software is provided as-is without any guarantees.
Using the MIT license provides a lot of benefits for developers who want to share their work with the world. For example, it allows for the creation of derivative works, which means that others can modify and improve upon the original software, leading to more innovation and progress.
Additionally, using the MIT license can also help developers to attract more contributors to their projects, as it provides a level of flexibility and openness that many developers value. Finally, using a well-known and widely used license like the MIT license can also help to establish credibility and trust in the developer community, as it demonstrates a commitment to open-source values and principles.`
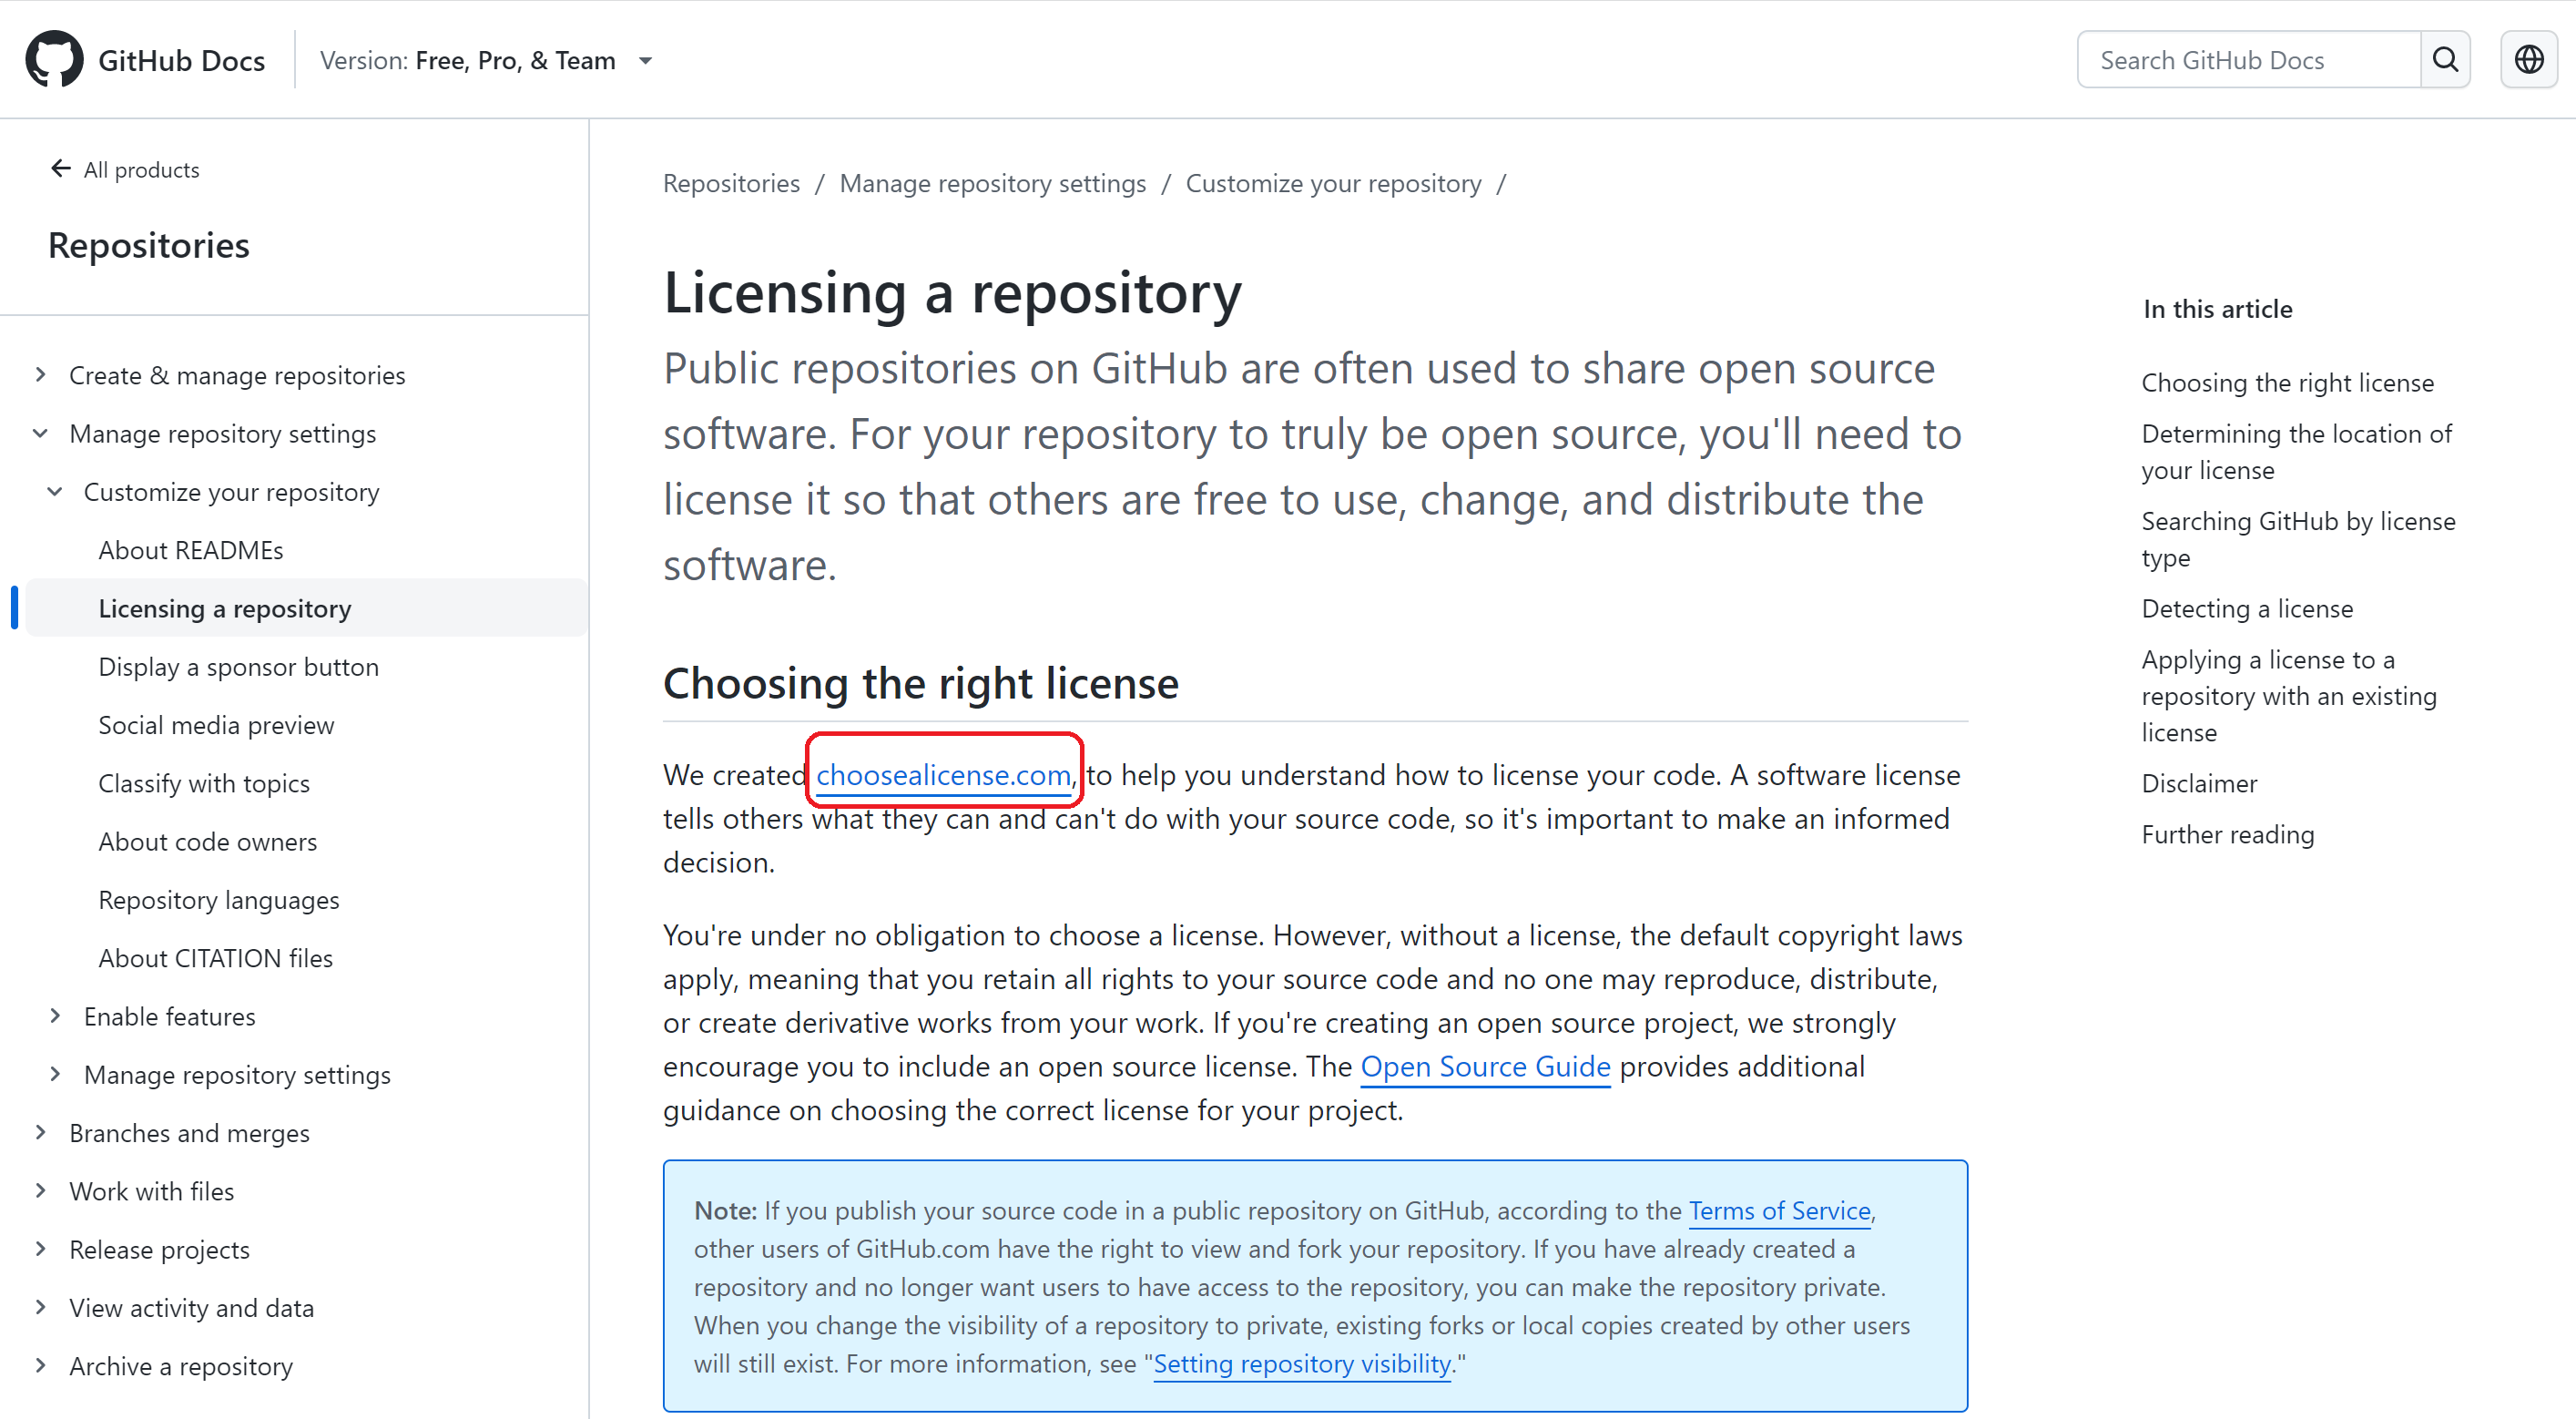
Find official document on Github
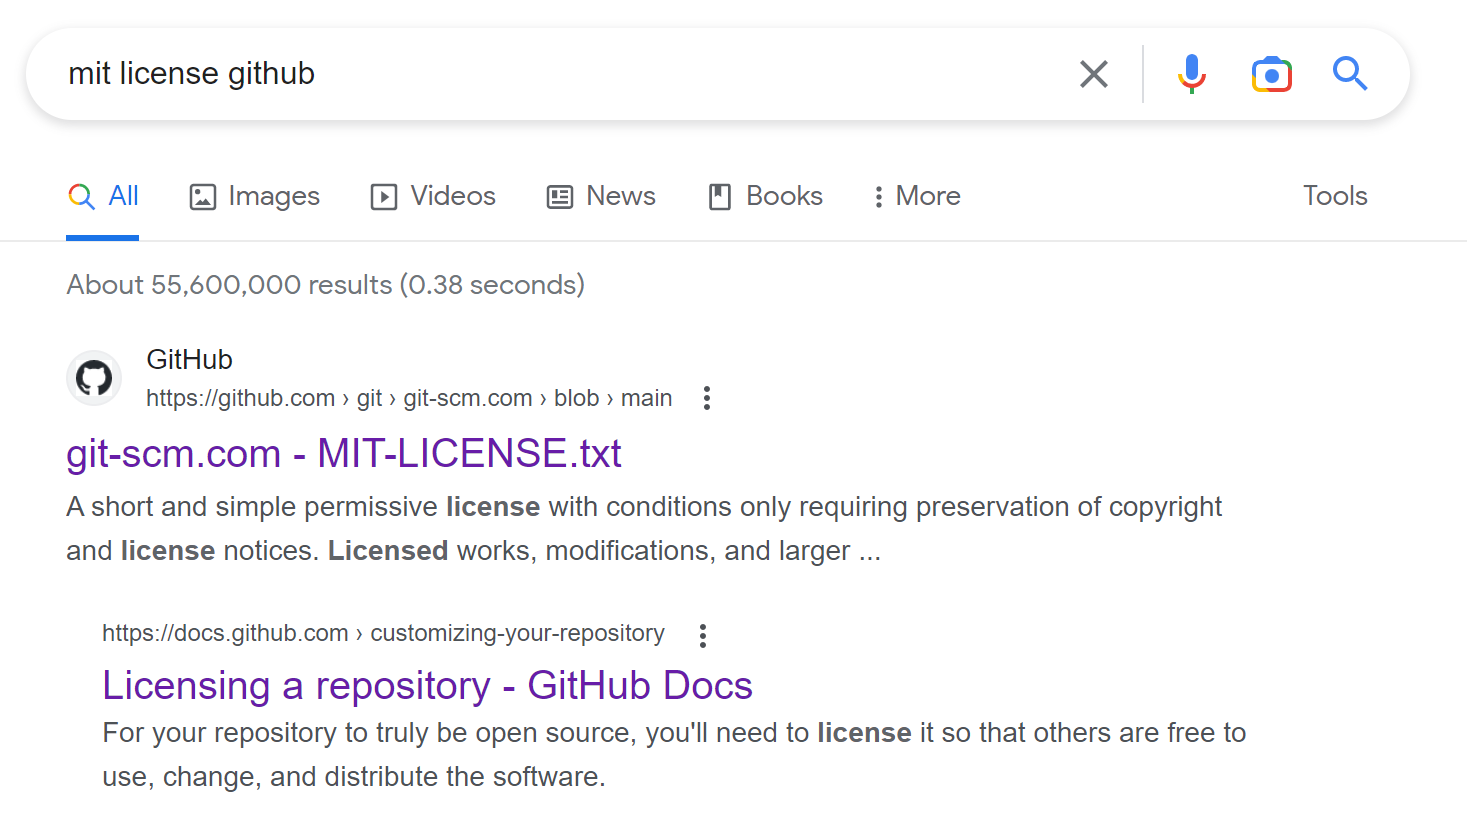
I did Google search for , chose the
and I went to
I continued to click on
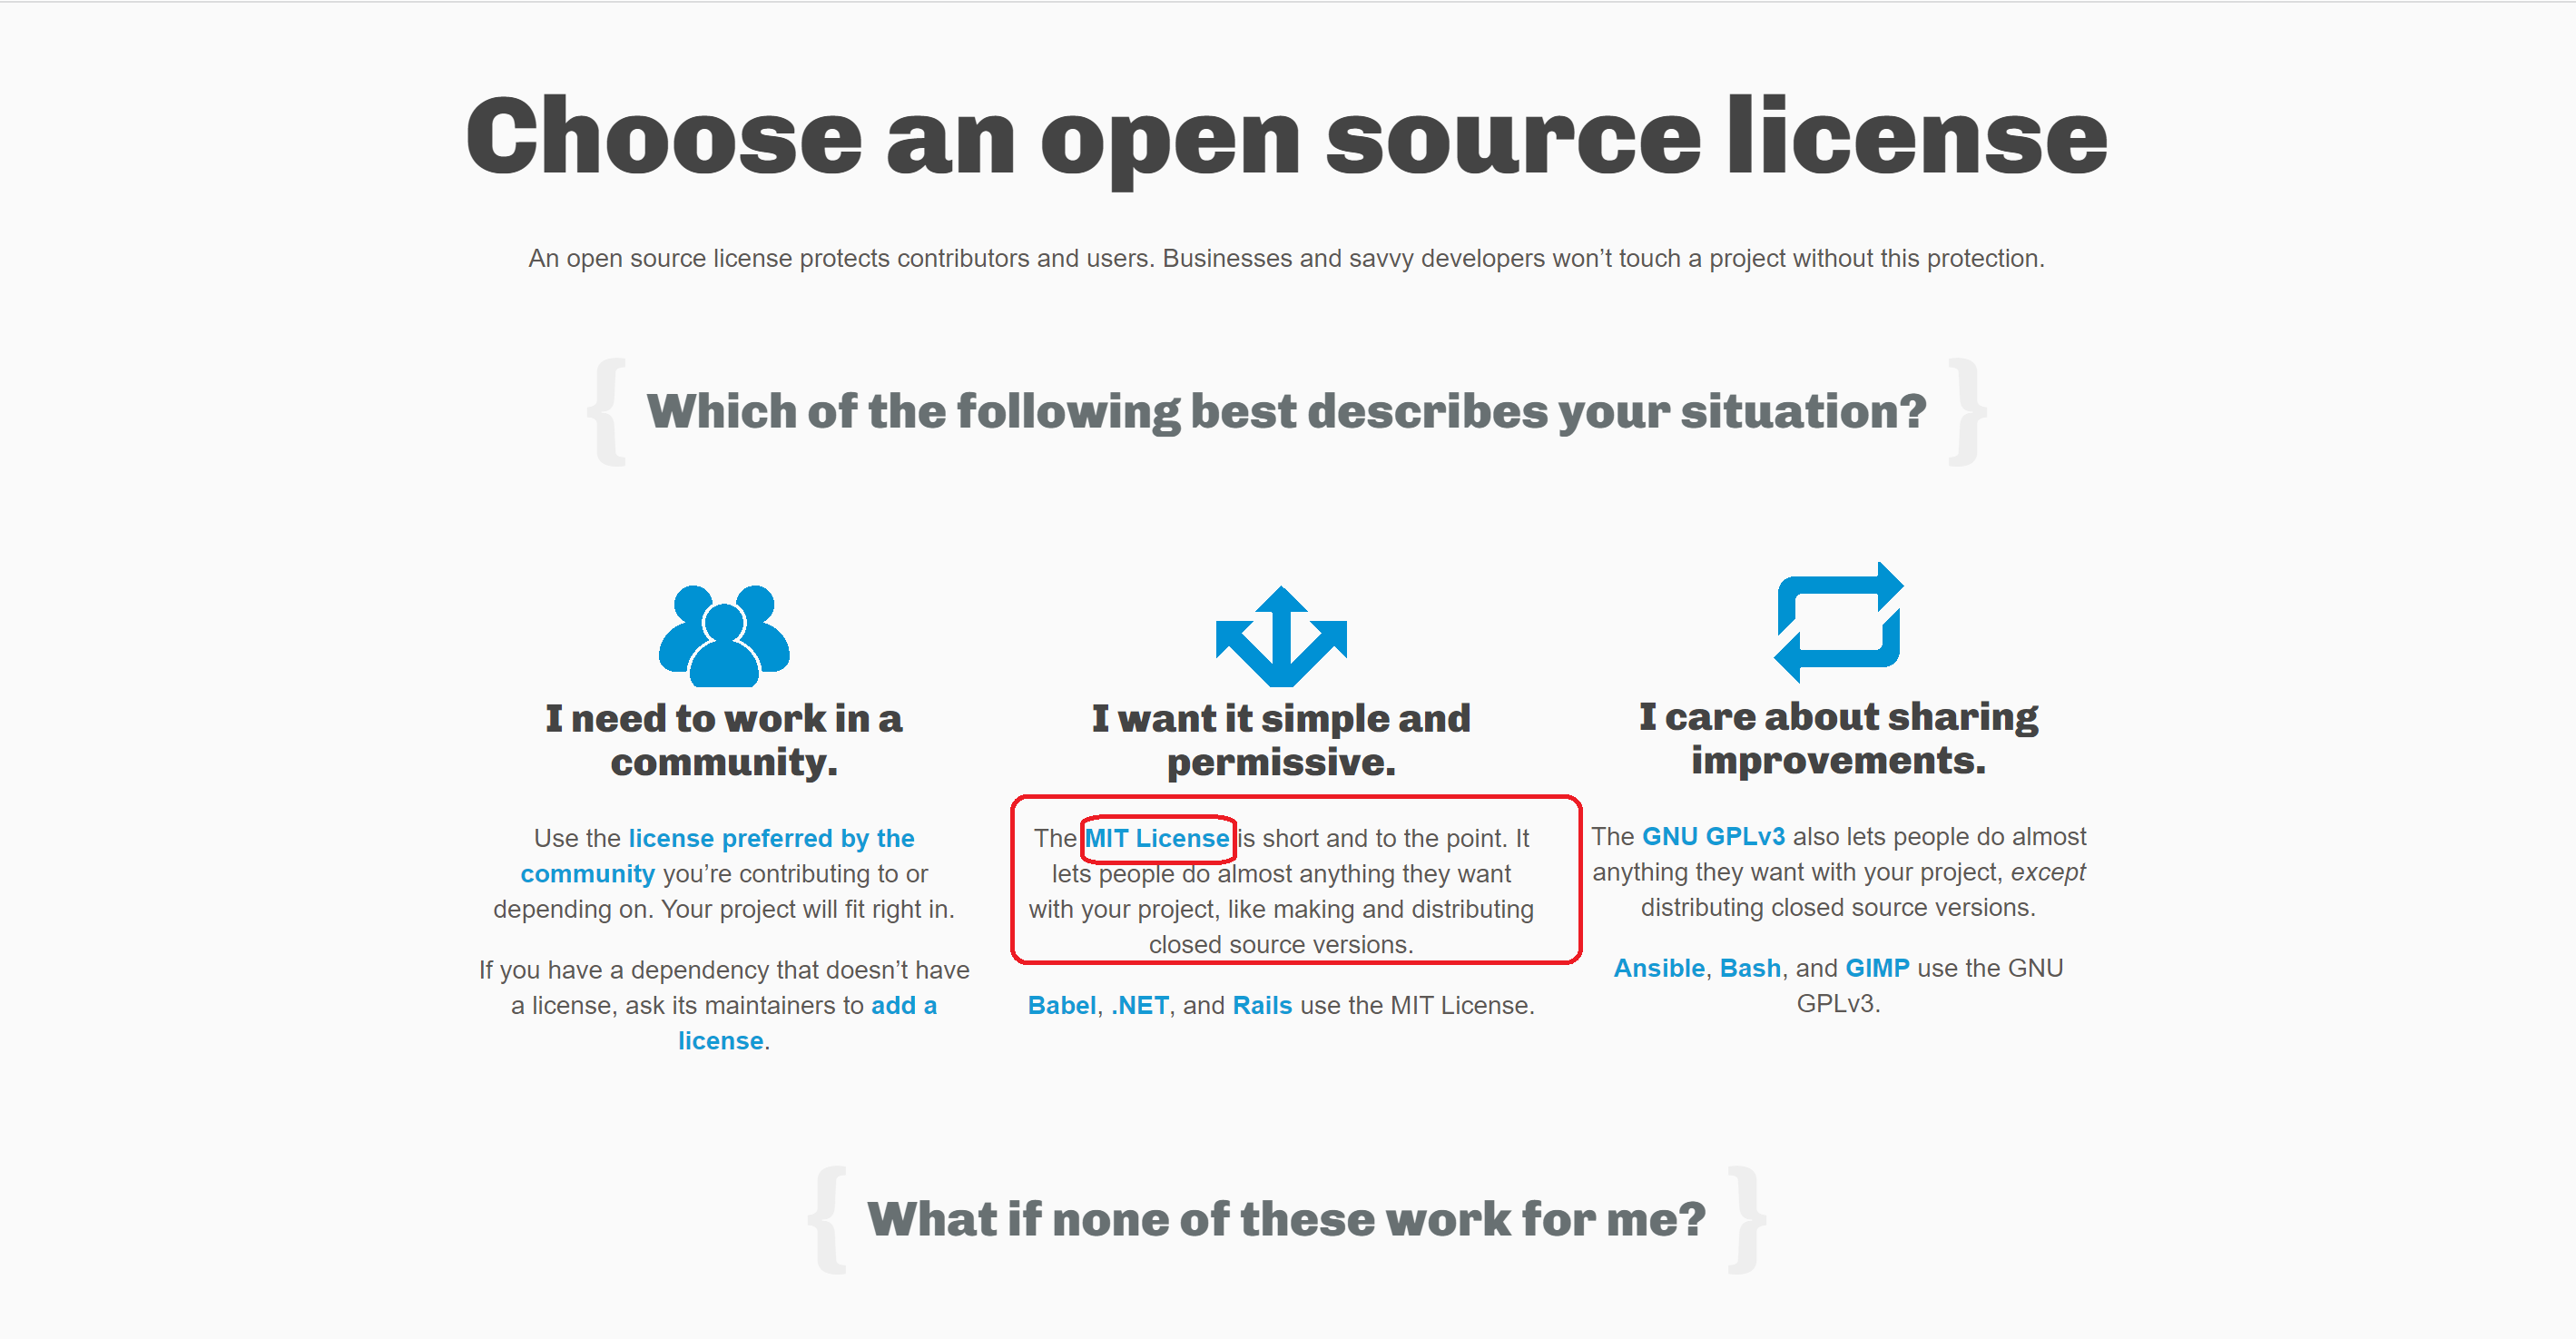
Finally, I copied the text and put my name on that.
Set up the MIT License with the code
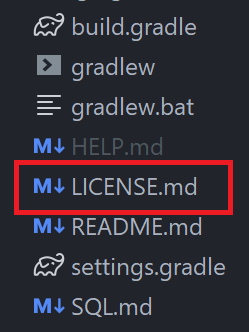
At the program, I created file and pasted the editted text with my name on to that file.
Then I went to to check how MIT License's information displayed.
Many thank you for reading, and in my next chapter, continously I will share about backend development with method at in and of 😊.